Chaatty

Winter Activity Ideas

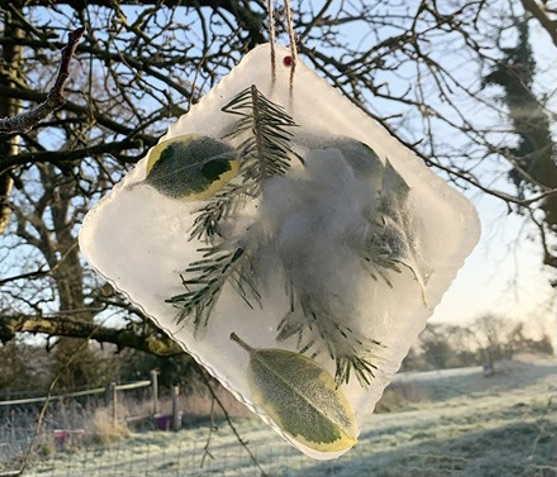
Ice decorations

Ice Decoration jpeg
Materials
  • Leaves
  • Twigs
  • Flowers
  • Water
  • Tray
  • String
Get Started:

Place the leaves, twigs etc into the tray.
Fill the tray with water.
Add the string, and leave to freeze overnight.


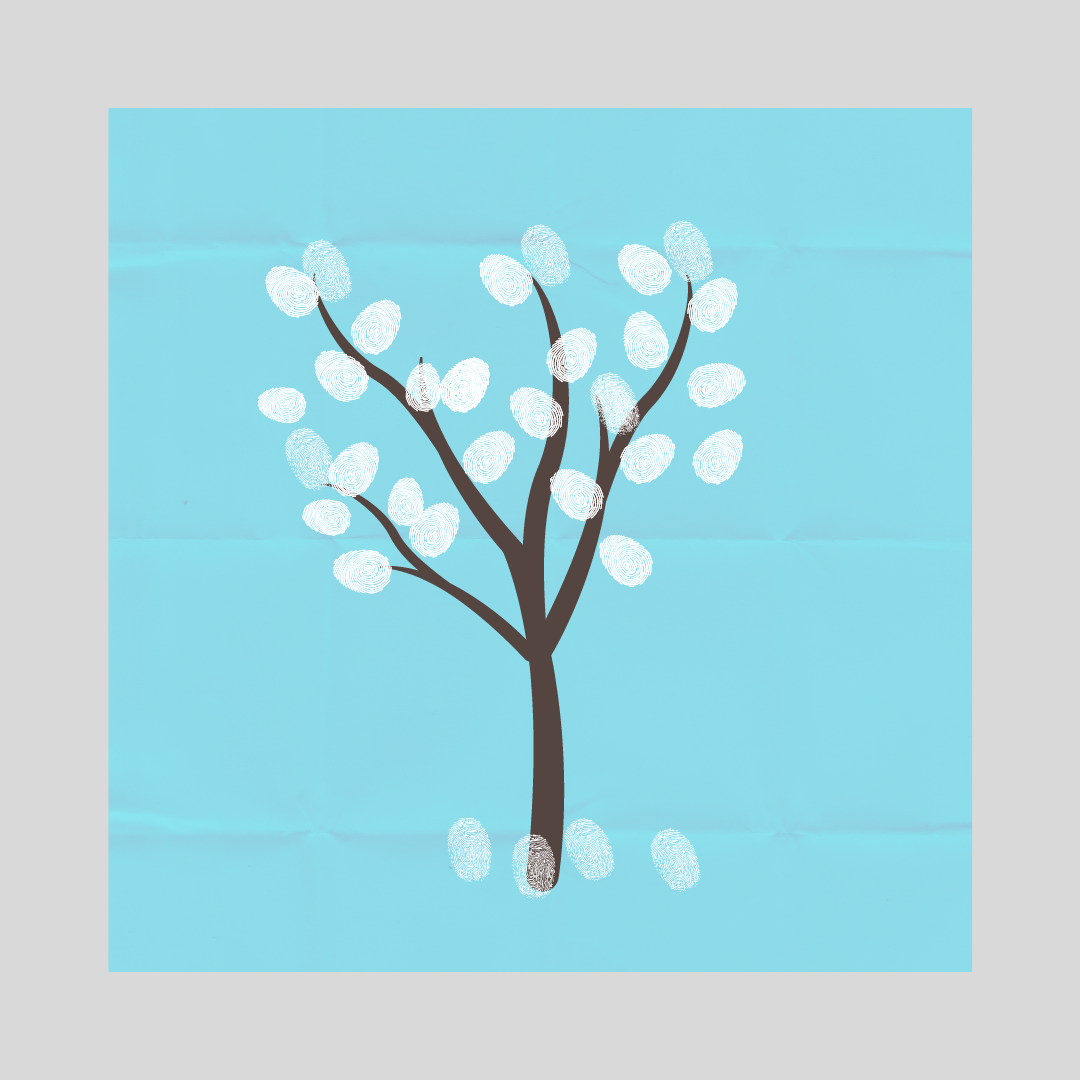
Snow Tree

Snow tree png
Materials
  • Twigs
  • Glue
  • White paint
  • Light blue card paper
Get Started:

Collect some small twigs from outside and carefully place them on the card.
Once you are happy with your tree design, glue it to the paper and wait for it to dry.
Dip your finger in the white paint to make snow all around and on the tree.
Wait for the paint to dry, and you're done!


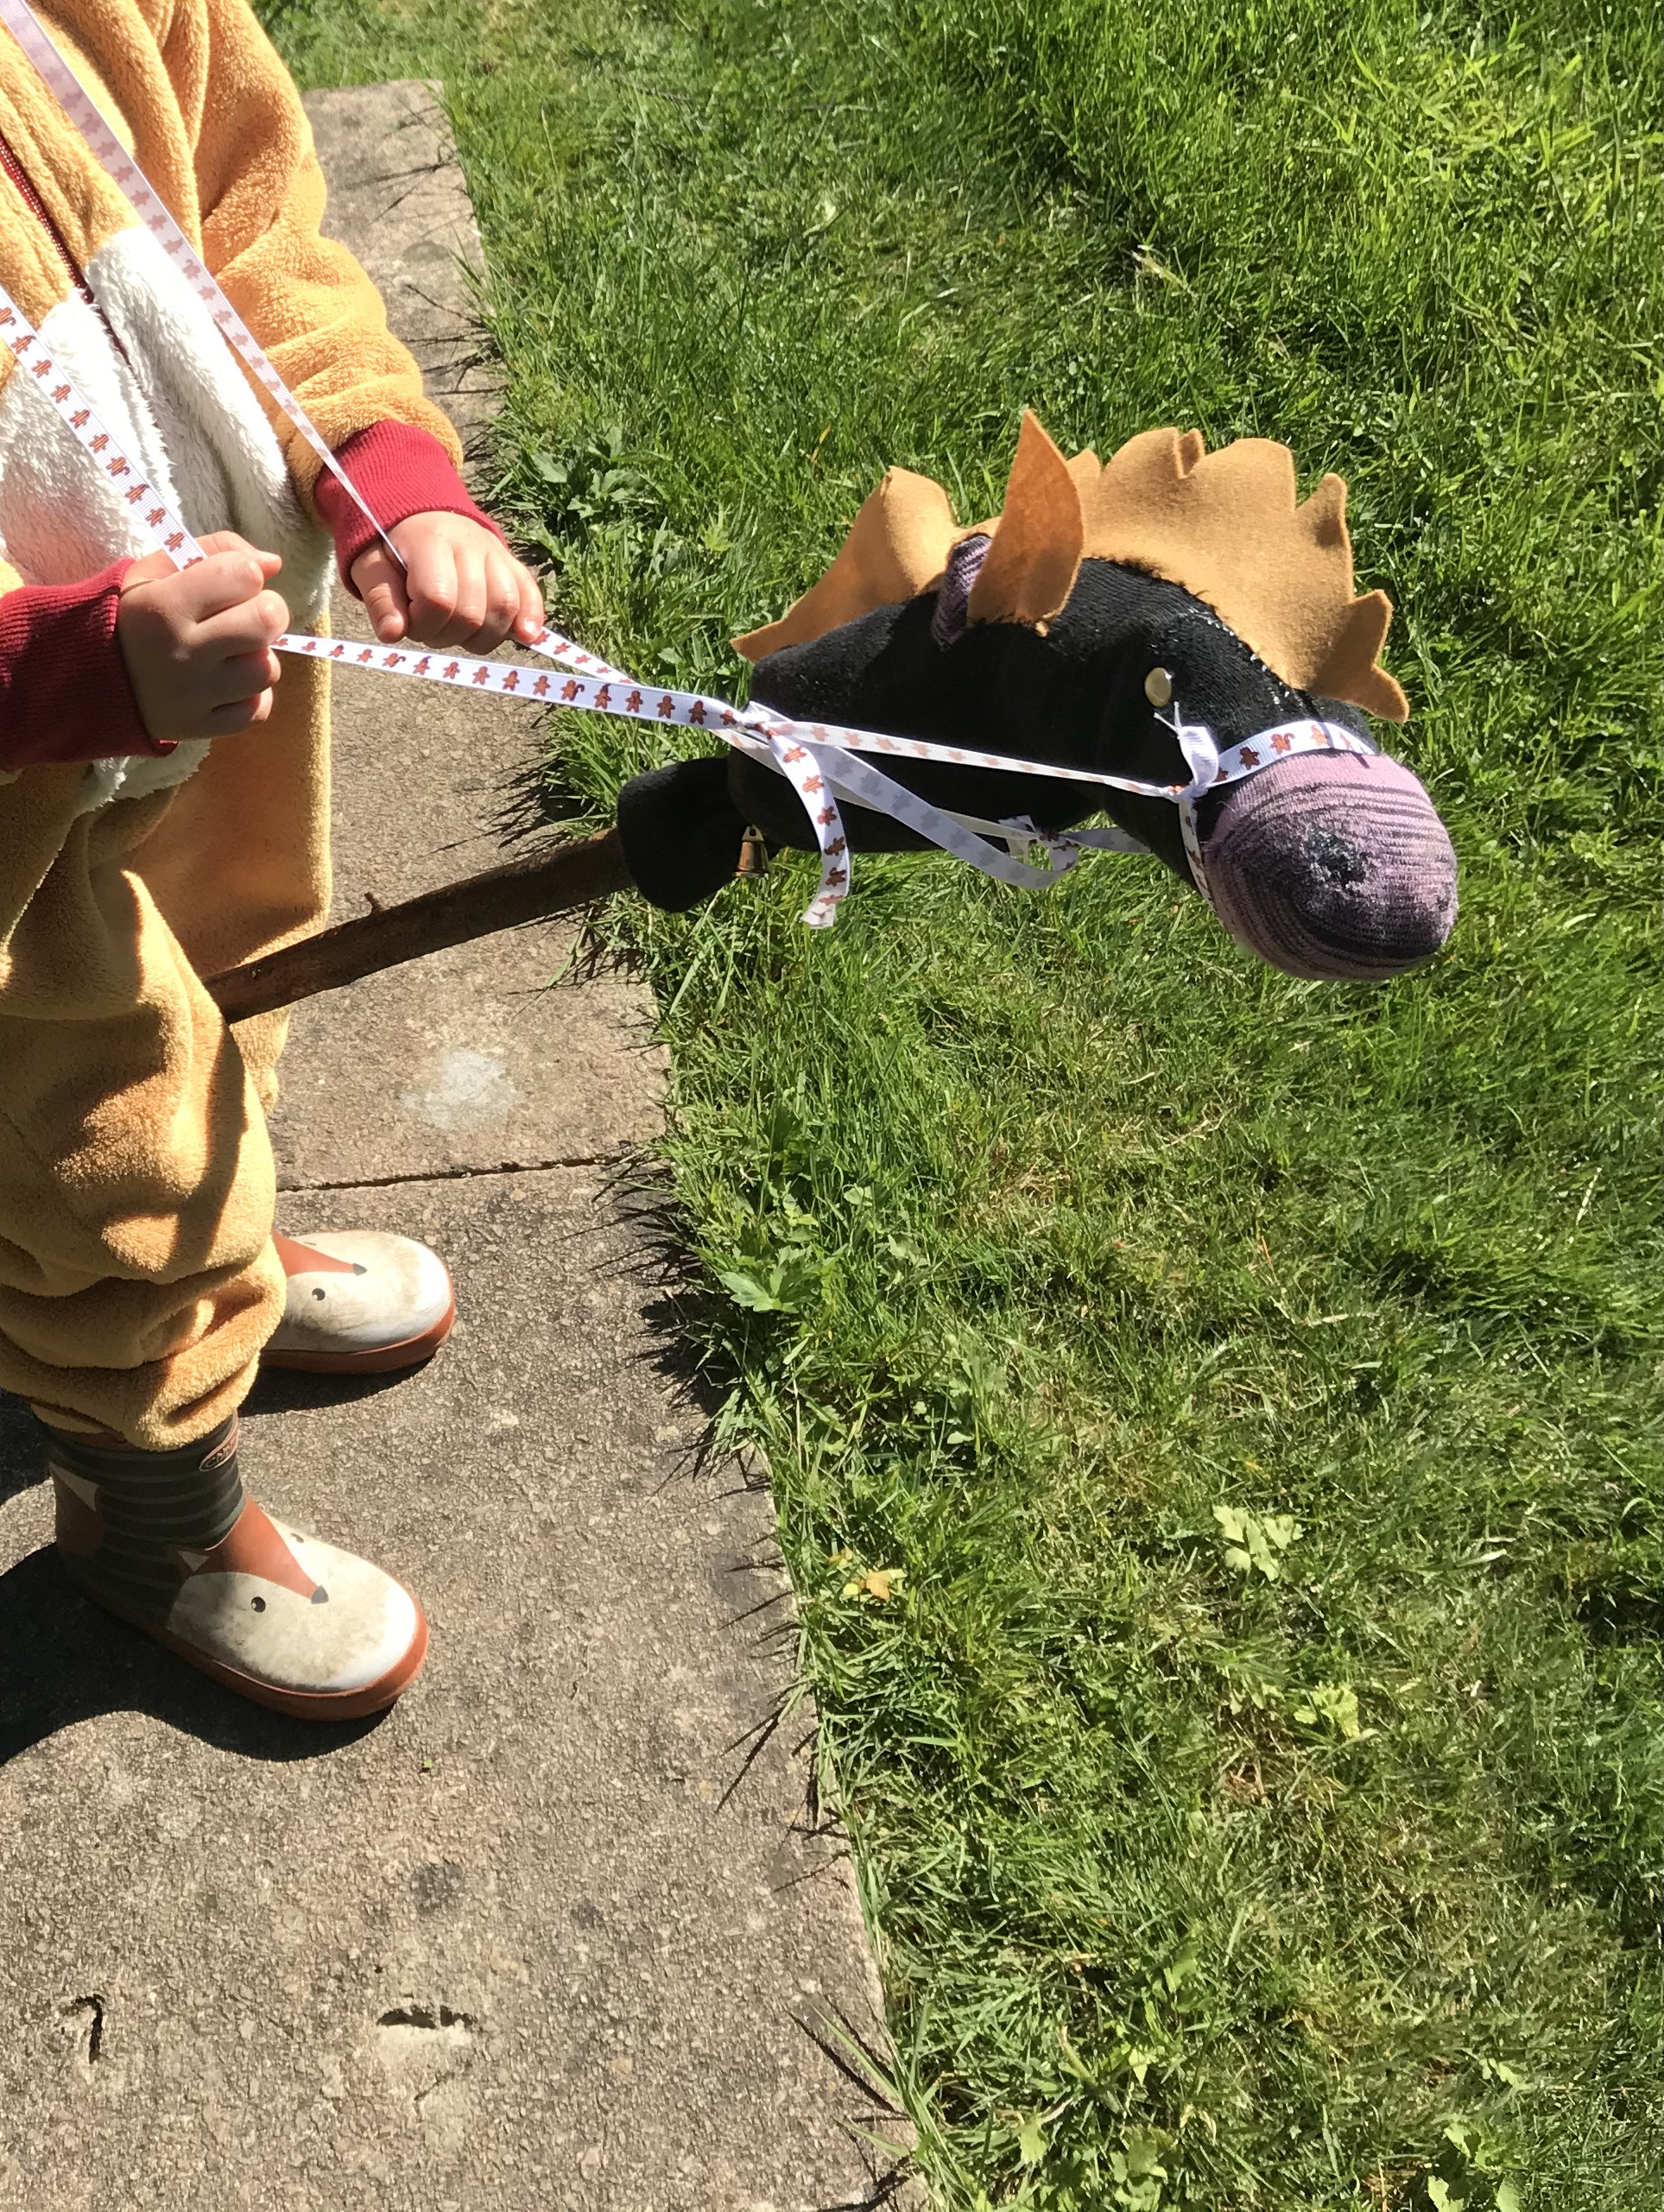
Hobby Horse

Hobby Horse jpg
Materials
  • An old sock
  • Felt
  • Ribbon
  • 2 buttons for eyes
  • A long stick
  • String
  • News paper
  • Needle and thread
  • Scissors
Get Started:

Make sure your stick is safe to hold.
Cut two ear shapes from the felt and sow near the heal of the sock.
Cut the mane shape from the felt and sow on the sock.
Sow the buttons on for eyes, these should go in between the heal and the toe section of the socks, but closer to the heal section.
Scrunch up the newspaper and place in the sock.
Place one end of the stick inside the sock and secure the end with a piece of string.
Attach the halter.


Winter Scavenger Hunt

Get Started:

Download our Winter Scavenger Hunt.

You can also create your own indoors one, for a rainy day.

We bought some reusable A4 wipe clean pockets which can be written on.

Benefits

Scavenger hunts allow kids to practice problem-solving in a tangible way.

It helps to reinforce and act-out methods they have been taught by parents or teachers in a physical way, leading to increased retention of the lessons.

Scavenger hunts help exercise the mind by reinforcing problem-solving skills.

However, they can also be good exercise for the body.

You can incorporate clues that get children moving and running from place to place.

You can even get creative and have your child run to the top of a hill, wander into the woods or climb a tree for the next clue. Get those legs moving!


Snowman Lolly

Snowman Lolly Recipe png
Materials
  • Heat proof bowl
  • Pan
  • Baking tray
  • Baking paper
  • Lollypop sticks
  • Tray
Ingredients
  • 100g Milk Chocolate
  • Chocolate chips
  • Raisins
  • Cranberries
Get Started:

Wash your hands.
Place the heat proof bowl in a pan of water, then boil the water.
Break the chocolate into smallish pieces.
Once the water has boiled, turn off the heat and place the chocolate in the bowl, stirring occasionally.
Place the baking paper on the tray, and place the lollypop sticks on it.
Spoon the melted chocolate onto the baking paper in two circles - to create a snowman shape.
Make sure the bottom of the snowman covers the lollypop stick.
Decorate the snowmen with the remaining ingredients.
Leave the snowmen to set for an hour and then gently peel off the paper.
Enjoy!


Paper Owl

Materials
  • Card Paper
  • Tissue Paper
  • Glue
  • Scissors
Get Started:

Download and print our Owl template.
Cut out the part to the owl and use them as a stencil to copy the shapes onto card paper.
Glue the tissue paper on the owl to create some colourful feathers.
Once dried, glue the wings, feet, beak and eyes to the owl.
When the glue has dried, you're done!


Paper Lantern

Materials
  • Card Paper
  • Tissue Paper
  • Sticky tape
  • Scissors
  • Stickers
  • Felt tips
Get Started:

Download and print our Lantern.
Colour and decorate your lantern template.
Fold the paper in half lengthwise along the dashed line.
Cut along the lines on the sheet but don’t cut to the edges of the paper.
Unfold. Curve the paper to make a cylinder shape.
Tape it together and stick on the handle.
Cut the colourful tissue paper in strips.
Tape the strips of tissue paper to the bottom of the lantern.


Rocket

Rocket png
Materials
  • Long cardboard tube
  • Silver foil
  • Tissue paper
  • Brightly coloured card
  • Brightly coloured paint
  • PVA glue
  • Scissors
  • Sticky tapes
Get Started:
The body

First paint the cardboard tube in a bright colour, then leave to dry.

Top of the rocket

Draw a small circle on the card and then cut it out.
Cut out a line going from the outside to the centre of the circle, stopping once you reach the middle.
Roll the circle into a cone shape, then secure using sticky tape.
Stick two pieces of tape on the inside of the cone. Then stick the cone onto the top of the cardboard tube.

The windows

Draw three small circles onto the foil.
Cut out the circles in silver foil.
Stick them onto the rocket using PVA glue.

The flames

Cut the tissue paper into strips.
Using sticky tape to attach the flame to the bottom of the rocket.
And you're done!

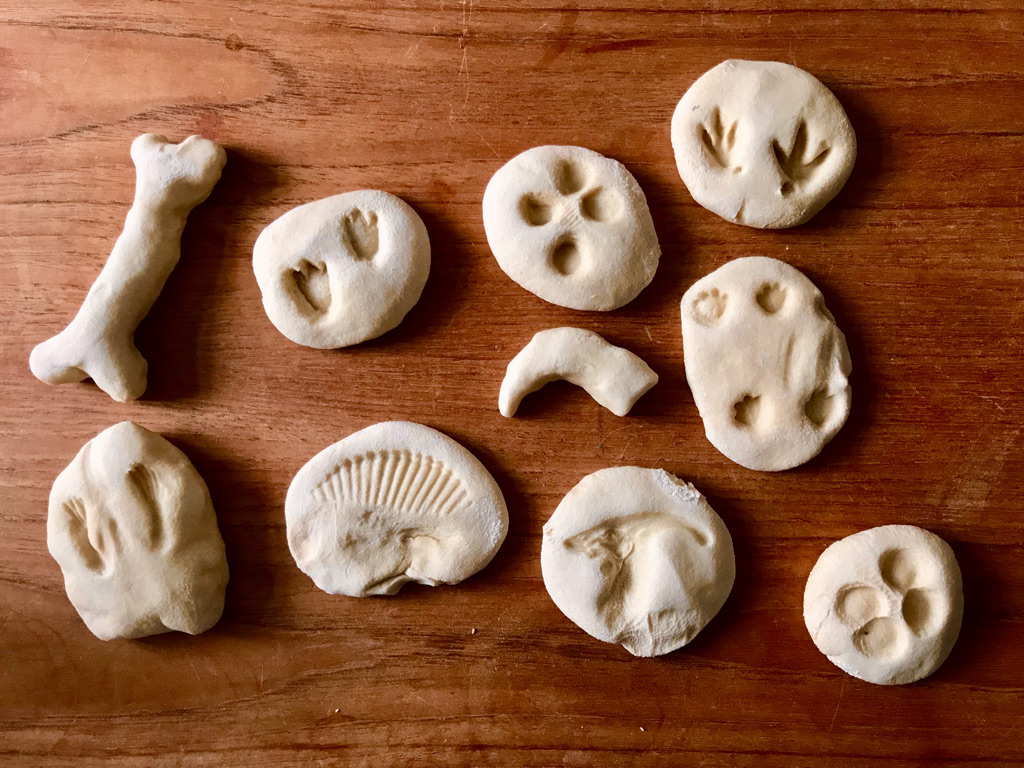
Dinosaur Fossils

Dinosaur Fossils jpeg
Materials
  • 1 cup of plain flower
  • Half a cup of salt
  • Half a cup of water
  • Baking sheet
  • Baking tray
  • Dinosaur toys
Get Started:

Mix the flour and salt.
Add the water.
Stir until it makes a ball.
Knead and flatten out your salt dough.
Make your fossils – imprints or bones.
Put on a lined baking sheet and bake on a low temperature for 3 hours.
Once they've cooled, you're done!